
Easy Wiring for Makers: How to Simplify Your Next Arduino Project
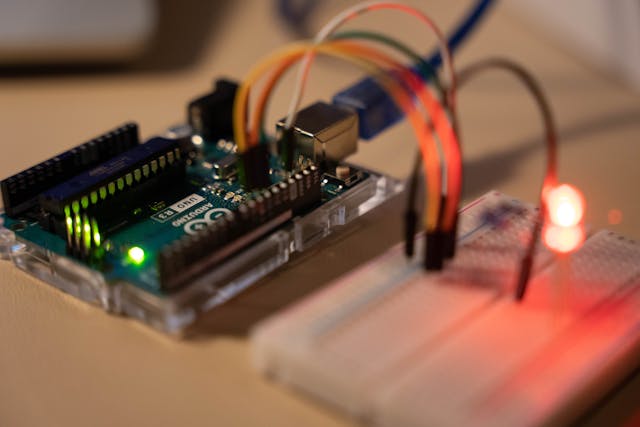
If you’ve ever built an Arduino project, you know that while writing the code can be fun, dealing with wires often isn’t. Tangles, loose connections, and confusing pinouts can quickly turn a promising build into a frustrating mess. The good news? Wiring doesn’t have to be complicated. With a few simple changes in how you approach your electronics layout, you can dramatically improve your project’s reliability and make the whole experience smoother and more enjoyable.
Start With a Clear Layout Plan
Before you even plug in a jumper wire, take a moment to sketch out your wiring layout. Whether it’s on paper or with a digital tool, a clear visual of how everything connects will save you a ton of time. You’ll be able to anticipate which wires need to cross, avoid overlap, and catch potential problems early. Plus, it gives you a blueprint you can revisit later when troubleshooting or making upgrades.
Use Color-Coded Wires for Clarity
Nothing adds confusion like a sea of black wires in a tight enclosure. Using color-coded jumper wires—like red for power, black for ground, and other distinct colors for signal lines—helps you quickly identify connections at a glance. This simple step not only makes your build neater but also helps when diagnosing issues later.
Smarter Tools for Better Connections
Modern makers have access to smarter tools for better connections that didn’t exist just a few years ago. Pre-crimped jumper wires, quick-connect terminals, and plug-and-play sensor modules all make prototyping much faster and more secure. Rather than stripping and twisting bare wires, you can snap parts together and focus more on the functionality of your project. These tools don’t just save time—they reduce human error, making your setup more dependable.
Leverage Breadboards—But Know Their Limits
Breadboards are fantastic for prototyping. They let you rearrange components easily without soldering, perfect for early-stage experiments. However, they can get crowded quickly, especially if you’re working on a complex project. Loose connections and voltage drops across rows can also create erratic behavior. For longer-term builds or anything going into an enclosure, consider moving to a soldered perf board or custom PCB once your design is finalized.
Label Everything for Easier Debugging
It may seem like overkill at the moment, but labeling your wires, modules, and headers can save you hours when things stop working. Tiny tags, tape labels, or even a printed pinout chart taped to your work surface go a long way in keeping you sane. Especially when you’re juggling multiple sensors or working with I2C and SPI devices, clear labels reduce the need to constantly trace wires back to their source.
Bundle and Secure Wires for a Cleaner Build
Once your connections are set, take a few minutes to tidy up. Use zip ties, wire clips, or even reusable Velcro straps to group and secure wires. Not only does this make your project look more professional, but it also protects your connections from accidental pulls or damage. A neat wiring setup also improves airflow and helps you identify components more easily during maintenance.
Choose the Right Power Supply
Arduino boards are pretty forgiving when it comes to power, but adding sensors, displays, and motors quickly increases current demand. Using the wrong power supply can result in random resets or strange behavior. Always double-check your voltage and current requirements, and use a regulated power source with enough headroom to keep your project running smoothly. Simplifying your Arduino wiring doesn’t take much—just a little planning and the right tools. By organizing your layout, using the right connectors, and keeping things tidy, you can spend more time creating and less time fixing. Whether you’re building a robot, a home automation system, or a simple LED display, smart wiring turns a good project into a great one.